The official discord link if you wish to join the discord: https://discord.gg/j5RKwCvAFu
Support the wiki on our official Ko-Fi page or Patreon page!
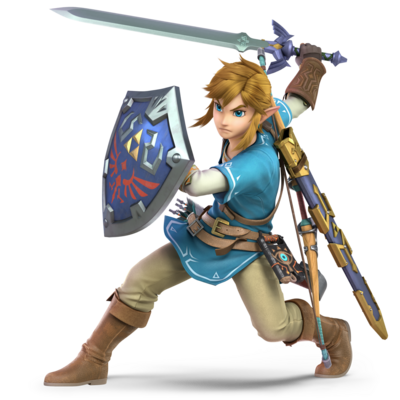
Link (Smash Bros.)
Background
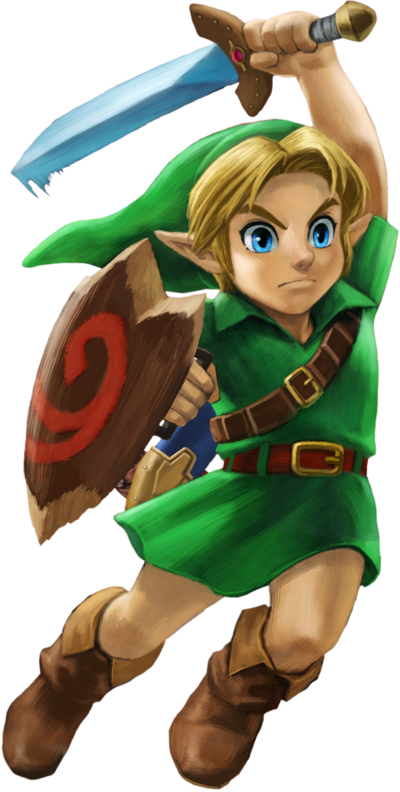
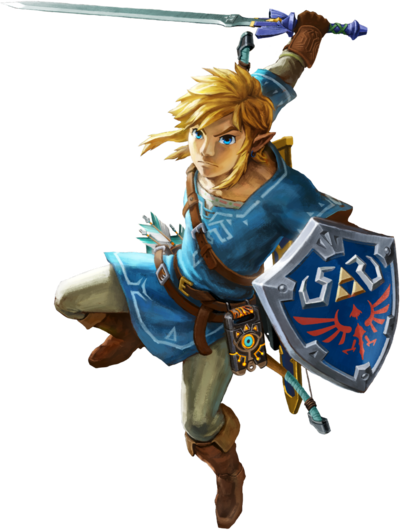
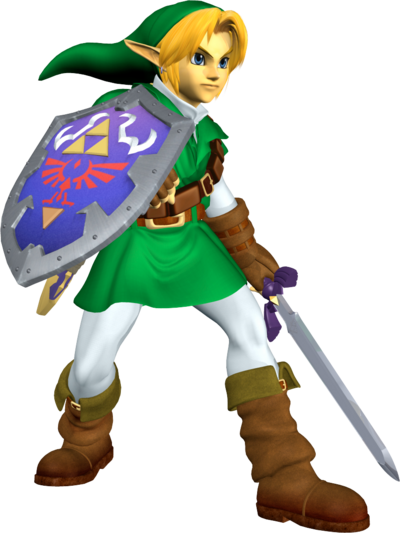
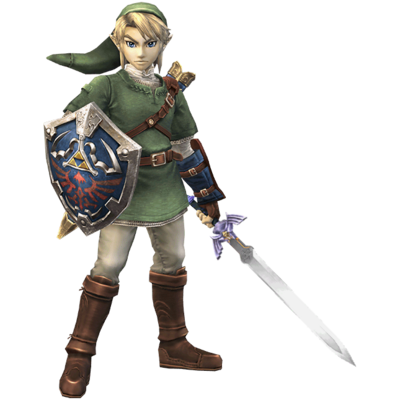
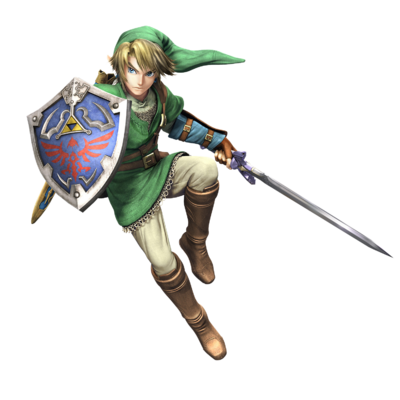
Link is the protagonist of The Legend of Zelda series. Unlike the majority of Nintendo protagonists, there are several distinct incarnations of Link seen throughout The Legend of Zelda series, each of whom are destined to become heroes against powerful forces of evil, most notably Ganondorf/Ganon. Due to the consistent critical and commercial success of The Legend of Zelda series, Link is marketed as one of Nintendo's flagship characters alongside Mario, the company's mascot, to the point that both he and Mario are marketed together as mascots for Super Smash Bros. Ultimate.
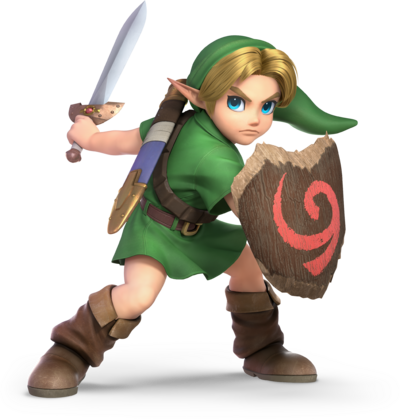
As a member of the "perfect-attendance crew", Link has been featured as a playable character throughout the Super Smash Bros. series. Compared to the rest of the crew, however, he holds the distinction of doing so in name only because of three of his incarnations (the Hero of Time, the Hero of Twilight, and the Hero of the Wild) appearing as playable characters. By extension, prepubescent incarnations have also been playable, with the first instance of this occurring in Super Smash Bros. Melee.
Powers and Stats
Tier: 2-B, higher with Spirits and Final Smash
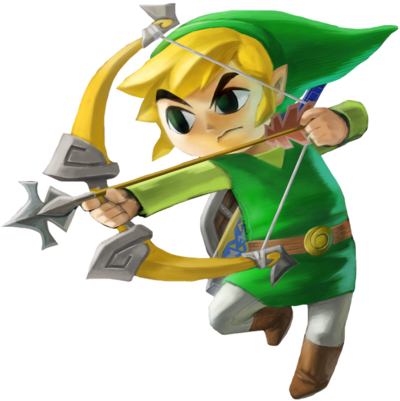
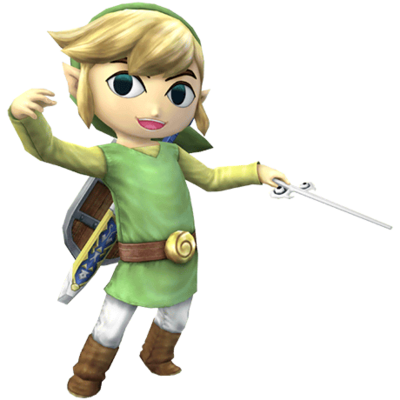
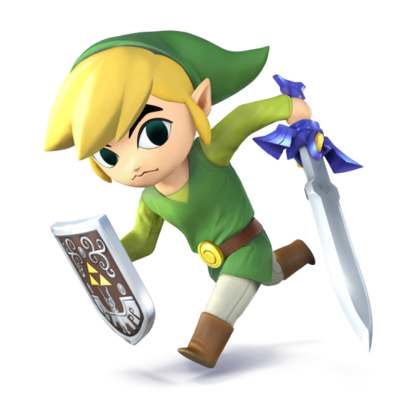
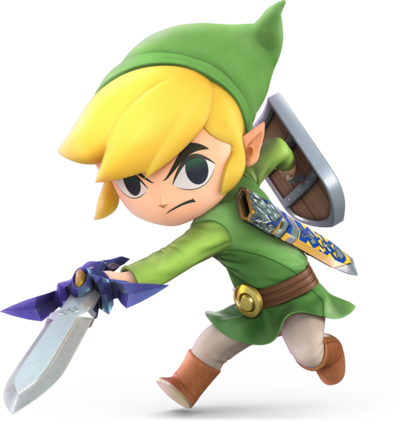
Name: Link, Young Link, Toon Link
Origin: Super Smash Bros. Originally from The Legend of Zelda
Sex: Male
Age: Unknown
Classification: Smash Fighter, Trophy Fighter, Hylian, Swordsman, Legendary Hero
Attack Potency: Multiverse level (Can fight Master Hand who is far superior to beings such as Arceus and Dialga who birthed time and created the universe, fought and defeated Tabuu with the rest of the cast who one-shotted Master Hand and whose defeat caused the subspace realm to be destroyed the subspace realm contains worlds from the world of trophies including objects like the subspace gun which can infinitely render space. Fought Galeem and Dharkon the former of who commands hundreds of Master Hands. Link himself was capable of momentarily knocking away Galeem's beams with his shield before eventually getting consumed. Master Hand has several statements of being the creator of the Super Smash Bros. universe which has countless timelines), higher with Spirits and Final Smash (Spirits are used to power up smash characters and are the very thing that aided them to defeat Galeem)
Dimensionality: 3-D
Travel Speed: Superhuman (Can travel around the World of Light map in a short timespan), higher with Spirits
Combat Speed: Extra-Temporal (Can tag Mario who can tag Kirby, who avoided beams from Galeem's, which can reach alternate space-times and seperate time periods), higher with Spirits
Reaction Speed: Extra-Temporal (Was capable of blocking Galeem's beams before being overwhelmed, can spot dodge light based attacks), higher with Spirits
Lifting Strength: Class M (Comparable to King Dedede who can swing his hammer at such a force)
Striking Strength: Multiversal, higher with Spirits
Durability: Multiverse level (Blocked Galeem's beams, can tank hits from Tabuu & Master Hand), higher with Spirits
Stamina: Peak Human (Can fight with up to 7 opponents at once without shows of being tired), higher with Spirits
Range: Extended Melee Range, Several Meters with Boomerang, Hundreds of Meters with Bow & Arrow, Tens of kilometers with projectiles.
Standard Equipment: Kokiri Sword, Master Sword, Bow & Arrow, Boomerang, Gale Boomerang, Bombs, & Hookshot
| Item | Description |
|---|---|
| Assist Trophy | When picked up, after the character lands on the ground, they will perform a short animation and summon a random character to aid them in the fight. |
| Back Shield | Defends the wearer from attacks towards their back. |
| Banana Gun | Ejects the banana out of the peel and the player is left with the banana peel after using it. |
| Banana Peel | Once thrown, trips opponents that touch it. |
| Barrel | Once thrown, struck, or landed on a slope, may roll across the stage and damage what it hits before breaking. Has a one-in-eight chance of exploding. |
| Barrel Cannon | Once thrown or it lands on a hill, grabs and launches the first character it hits. Disappears very quickly. |
| Beam Sword | Starting in Melee, gets longer when swung depending on character. Peach has a rare chance of plucking one when using Vegetable. |
| Beastball | Reappears near an opponent after being thrown and targets them, covered in flames. |
| Beehive | Can be thrown at opponents. If attacked or thrown at a player, it summons bees that attack the player that attacked it or was hit by it. |
| Beetle | Can be thrown towards an opponent, and the item will grab the opponent and fly off into the air with them. Can be reversed by hitting it. |
| Black Hole | Creates a massive black hole, dragging all items and players nearby in. Throws the opposite side of user's orientation. |
| Blast Box | Very poor throwing distance. Explodes upon taking 30% damage or a flame attack. |
| Bob-omb | Very powerful explosive. If not grabbed within a few seconds of its appearance, it lights its own fuse and begins walking around, exploding on any character it meets. If it doesn't meet a character it will blow itself up after a while. Peach has a rare chance of plucking one when using Vegetable. |
| Bombchu | Can move up walls and across floors and ceilings. Explodes on contact with opponent. |
| Bomber | Explodes in the player's hand when used. Only affects enemies. |
| Boomerang | Can be thrown at and grabbed by opponents. Returns to the thrower unless intercepted. Gains power when caught. |
| Boss Galaga | Carries foes upward to the top of the screen. Can be destroyed by attacking it. |
| Bullet Bill | Transforms the user into a Bullet Bill and launches them in a specified direction, dealing big damage to anyone they hit along the way. After a set distance, the user returns to normal. Can be reflected. |
| Bumper | Can be placed on the stage or (starting in Brawl) set in midair, where it will knock away characters that touch it. If two or more are present, they can be used to momentarily trap characters by bouncing them back and forth. |
| Bunny Hood | Increases the user's movement speed, jump height, and falling speed. |
| Capsule | Contains a single item. Has a one-in-eight chance of exploding. |
| Cloaking Device | Renders the user mostly invisible and makes them immune to damage (but not knockback). |
| Cracker Launcher | Shoots explosive fireworks. Limits the user to walking and a single jump, and automatically dropped from any flinch. |
| Crate | Contains many items. Has a one-in-eight chance of exploding when thrown, or hit with enough force to break. |
| Cucco | Can be thrown at opponents. If attacked or thrown at a player, it summons various Cuccos that attack the player that attacked it or was hit by it. |
| Daybreak | Appears in three pieces that must be collected all at once; characters can lose pieces from their possession when hit or KO'd. Once one character has all the pieces the weapon assembles in their hands, which they can then use at their discretion to fire a giant laser across the stage, almost guaranteed to KO anyone it hits. |
| Death's Scythe | Instantly KOs opponents at high percentages. |
| Deku Nut | When thrown, damaged, or after a short time (even if held), nearby characters are stunned (if grounded) or launched (if aerial). |
| Dragoon | Appears in three pieces that must be collected all at once; characters can lose pieces from their possession when hit or KO'd. Once one character has all the pieces the Dragoon is assembled and flown into the stage for a one-hit KO ram attack. |
| Drill | Allows the wearer to fire a large drill. |
| Fairy Bottle | Recovers an excess of 100% damage, but only if the user's damage is 100% or more. Otherwise, can be thrown, but will heal anyone hit who meets the prior requirement. |
| Fake Smash Ball | Flies around the stage, similar to the Smash Ball. Characters can break it in order to activate. Once broken, it will explode. |
| Fan | Fastest-swinging battering item. High shield damage. |
| Fire Bar | Causes fire damage. Grows shorter with each successful attack. |
| Fire Flower | Produces a continuous stream of short-range fire. |
| Flipper | Once thrown, halts in the air and bops characters that run into it. |
| Food | Each type of food recovers a different amount of damage. Can be produced in large numbers by Peach Blossom. |
| Franklin Badge | Temporarily makes the wearer immune to projectiles by automatically reflecting them. Can be knocked off. |
| Freezie | Slides across the stage, freezing characters when struck by it. Can be destroyed before being picked up. |
| Golden Hammer | Acts the same as the regular Hammer, though faster, more powerful and with the ability to float. May be a dud Squeaky Hammer that deals no damage at all. |
| Gooey Bomb | When thrown, attaches to characters and can transfer to other characters that pass by. Explodes after a certain time or if attacked when not on a character. |
| Grass | When picked up, another item appears in its place. |
| Green Shell | When thrown, attacked, or landed on, slides across the stage and damages everything it hits. Can be stopped by jumping on it. |
| Gust Bellows | Blows gusts of wind at other players to push them away. |
| Hammer | One of the most feared items in the game due to its range, damage, and knockback. However, it limits the user to walking and a single jump; the user cannot even choose to drop the item. May randomly lose its head and become useless. |
| Healing Field | Can be thrown on the ground. Once thrown, it will open up and will heal anyone standing on it. |
| Healing Sprout | Sticks to fighters and gradually heals them. Can be transferred on contact like the Gooey Bomb. |
| Heart Container | Strongest recovery item, recovering up to 100% damage (in the original Super Smash Bros., it can reset player health to 0%). |
| Hocotate Bomb | A bomb shaped like the Hocotate Ship that will fly off, and then crash down after a set time. |
| Home-Run Bat | An extremely powerful item. Its forward smash is among the most powerful attacks in all four games, being a one-hit KO in every one. As a throwing item, it maintains its high knockback and is a semi-spike. In Brawl, forward smash uses a unique animation. It becomes stronger when hit on the tip. |
| Hothead | Follows the contours of the stage once thrown. Grows in size and damage but lasts for a shorter time when hit by flame or electric attacks. |
| Killer Eye | When placed, can fire energy beams in the direction it faces. Hitting it flips it around. |
| Killing Edge | A sword that deals x2 more damage and knockback when glowing. |
| Lightning Bolt | When touched, shrinks all opponents. Can backfire and shrink the user or enlarge all opponents. |
| Lip's Stick | Flowers opponents. Has a limited supply of short-range spore projectiles produced on f-tilt or f-smash. |
| Master Ball | Just like the Poké Ball, but it is guaranteed to release a rare or Legendary Pokémon. |
| Maxim Tomato | The third most powerful recovery item, healing up to 50% damage (in the original Super Smash Bros., it can heal up to 100% damage). |
| Metal Box | Turns the user metallic, increasing their weight and falling speed, while also reducing the chances of flinching. Can be activated by pickup or by direct attack; indirect attacks will either destroy it (in Melee) or do nothing (other games). |
| Motion-Sensor Bomb | Attaches to the stage once thrown; characters that approach it after a short time cause it to explode. |
| Mr. Saturn | Walks around the stage and can be knocked about by attacks. Deals massive damage to shields when thrown, but only minor damage otherwise. |
| Ore Club | An extremely powerful club made of stone that produces tornadoes when swung. Grants super armor when used as a forward smash. |
| Parasol | Reduces the holder's falling speed, allowing them to glide slowly left and right, potentially improving recovery. |
| Party Ball | Once activated by being thrown or damaged, it floats into the air and opens, dropping its items. |
| Pitfall | Embeds itself into the ground once thrown; characters that approach it after a short time will be buried or Meteor Smashed. Can also be thrown at an opponent directly for the same effect. |
| Poison Mushroom | Slides across the stage. When touched, shrinks the character. |
| Poké Ball | Once thrown and lands on the ground, unleashes a Pokémon to aid the user. |
| POW Block | When thrown, it causes an earthquake, launching all characters (including the player) straight up if on the ground. Can be used three times. |
| Rage Blaster | Fires a blast of energy. The higher the percent a user has, the more damage it does. |
| Ramblin' Evil Mushroom | A mushroom will grow on the opponent's head, reversing the left and right controls. |
| Ray Gun | Fires blasts of energy that have infinite horizontal range. |
| Red Shell | When thrown, attacked, or landed on, slides across the stage and damages everything it hits. Aims for nearby characters and avoids sliding off edges. |
| Rocket Belt | Can be equipped and used to increase upward momentum at will, similar to R.O.B.'s up-special. |
| Rolling Crate | When thrown, struck, or landing on a hill, it will roll across the stage and damage what it hits without breaking, though it will break with enough force. Can be stood on. |
| Sandbag | When attacked, produces items. |
| Screw Attack | Turns the holder's jumps into Screw Attacks. In Melee, applies for as long as the holder keeps the item, and a forced Screw Attack will be applied to those the item is thrown at. In Brawl, applies until the item wears off and does not need to be held in-hand once picked up. |
| Smart Bomb | Produces a large explosion when thrown or attacked. Has a chance to be a dud, though it can still explode if hit or thrown again. |
| Smash Ball | Flies around the stage. Characters must break in order to obtain. Once broken, player presses their neutral special button to use their Final Smash. Will fly off-stage after a short period if not obtained and used. |
| Smoke Ball | Once thrown, spews smoke around its immediate area. May stick to opponents. |
| Soccer Ball | Cannot be picked up. When attacked, it careens in the knockback direction with high damage and knockback. |
| Special Flag | Can be held above the user's head for a long period to gain either a KO point in a timed match or a stock in a stock match. Unlike other items, this one will always be dropped if the user is hit while holding it. |
| Spiny Shell | Commonly known as the 'Blue Shell'. Hovers above a player before dropping onto them and exploding. Can be dodged, or it can hit someone other than its intended target on descent. |
| Spring | When idle, repels characters when touched depending on whether it is upright or sideways. |
| Staff | Shoots a beam. The farther the opponent is, the more damage it deals. |
| Star Rod | Has a limited supply of long-range star shots produced on f-tilt or f-smash. |
| Steel Diver | A smaller gun-like version of the Steel Diver from the self-titled game for the Nintendo 3DS. Fires a torpedo which travels slowly at first. Deals no shield damage whatsoever. |
| Super Launch Star | Can be set in midair, where it will attract and launch any characters that get too close to it. The launch has the potential to KO fighters. |
| Super Leaf | Gives the user raccoon ears and tail. Allows the user to float in mid-air using the jump button. |
| Super Mushroom | Slides across the stage. When touched, enlarges the character. |
| Super Scope | Can shoot a total of 48 small rapid-fire pulses of energy or charge 3 large blobs of energy. |
| Super Star | Bounces across the stage, and makes whoever it touches invulnerable to all damage and knockback for a short time. Users can still be KO'd if they fall off the stage with it. |
| Superspicy Curry | Causes the user to constantly shoot short-range fireballs and be incapable of walking slowly. |
| Team Healer | Heals teammates when thrown at them. When thrown at opponents, can heal or damage them at random. Only appears during team battles. |
| Timer | Slows down all opponents. Can backfire and slow down the user, or slow down the entire game. |
| Unira | Attaches to the stage once thrown or attacked and pokes opponents that come near. Can be set or reset with a direct attack; indirect ones do nothing. |
| Warp Star | Once picked up, the user flies into the sky and then crashes down with an explosion. Can be steered slightly, and if there are platforms above, will land there instead of the starting point. |
| X Bomb | Creates a cross-shaped explosion that spans most of the screen. |
Intelligence: Extraordinary Genius in combat (Can fight skilled swordsman who have dozens of years of experience and is referred to as a skilled swordsman himself. Can fight and defeat Master Hand who craves to fight against the greatest warriors that have defeated all the prior fighters, is one of the most difficult challenges, with enough skill to perfectly mimic other forms and change up patterns in order to beat the fighter)
Standard Tactics: Smash characters are general wild cards whose moveset tailor to how a person plays. Thus making it hard to tell what their standard tactics are.
Weaknesses: Holding their shield too long will cause it to break leaving them in a dazed state.
Notable Attacks/Techniques:
Basic Attacks
- Triple Stab: A vertical slash, a horizontal slash, and a stab. If the attack is button mashed, the third hit will be replaced by a series of rapid jabs that can angle diagonally upwards, straight, and diagonally downwards.
- Foward Chop: A delayed downward swing. Somewhat slow but above average damage and knockback for a forward tilt.
- Half-Moon Slash: Quickly swings the Master Sword in a small arc above him. Can be chained together and good for leading into combos, usually forward tilt or neutral aerial. The attack's trajectory is based on where they are positioned on hit; when facing right, there's a slight right angle, and vice versa. This move can usually KO a foe reliably above very high damages such as 200%. Changes heavily in Japanese version of Smash 64, doing 15% damage and being able to shield break and a better angle for combos.
- Grasscutter: A ground-level slash. Usually knocks foes upwards. At lower percentages, this can be followed by a forward smash, a forward tilt, or even a grab. At high percents, it loses combo potential due to sending opponents too far for a follow-up.
- Dash Thrust: Comes to a stop mid-dash, stabbing in front of himself. Good range and speed, and can KO usually around 150%. Great for combo finishers. Moderate ending lag.
- Smash Slash: Twirls his sword twice in hand, then slashes downward in a similar fashion to his forward tilt, but with more power and lag. Much stronger if hit with the main blade, with very good knockback.
- Triple Slash: Three quick, narrow slashes while looking upwards. Lacks range but good for damage racking, as long as the foe doesn't DI out of it. Best suited for heavier characters. This move is somewhat weak for KOing, but at lower percentages it can lead into itself, an aerial, or Spin Attack. In most other cases, an up aerial or simply some other juggling plan (usually a Bomb readied before the move) is recommended.
- Foward and Backward Slash: Swiftly slashes in front of himself, then behind. A good close-range defensive move but also effective for KOing. This move is one of Link's few moves that come out near-instantaneously, and the ending lag is also rather low. Assuming Link is facing right, when the foe is hit on either side while being closest to Link, they will be sent upwards at a slightly angled trajectory. When hit at the end of Link's blade, it'll knock the foe in a 45° angle in the direction depending on what side they were hit on.
- Link Kick: An aerial kick. Best used as a defensive move due to its speed and lack of KO power. Moderately good combo move, and effective for edge-guarding.
- Forward Cleave: Does a swirling slash in a complete circle. Has two hitboxes: the early hit does 20% damage with a good amount of knockback, while a late hit deals less damage, but keeps its decent strength. It is not possible that the two hits will combine into each other. It is used competitively to end combos due to its knockback.
- Double Kick: Two kicks behind himself. They combo into each other for a good amount of knockback, though the second hit can be DI'd out of. In addition, it is risky to use this move near a ledge due to the length of this move, as Link's recovery may not always be good enough to make it back to the stage. Very useful for combos.
- Up Thrust: Stabs upward, similarly to his Up Thrust from Zelda II: The Adventure of Link. Decent KO power, can also juggle. Link's blade carries the move's hitbox. Useful on platforms to extend combos.
- Down Thrust: Aims his sword directly below him for a long duration, similarly to his Down Thrust from Zelda II: The Adventure of Link. This has great horizontal knockback. It is possible to hit the same enemy twice to have this move inflict 32% altogether. This move can be used to KO recovering foes by jumping directly at them, but this is only safe if the bounce of the connected hit allows Link to return to the stage. It should be noted that this move's downwards descent can be hastened by fast falling, although doing so is unwise near ledges. Has substantial landing lag when the player lands on the ground while using the move if not Z-cancelled. Usually considered to be Link's best aerial for shield pressure when Z-cancelled. Used competitively to end combos due to its knockback. Along with Pikachu's, this is the only down aerial in SSB to lack a meteor smash hitbox.
- Floor Recovery: Slashes on both sides and gets up.
- Edge Recovery (Fast): Flips over and slashes outwards. Decent range.
- Edge Recovery (Slow): Slowly picks himself up and stabs at a slight upward angle.
Grabs
- Hookshot: Uses the Hookshot while standing. Link, along with Samus and Yoshi, has an "extended grab". This allows him to grab opponents from a distance, but the grab is very laggy if it misses. This can lead to various unique combos due to Link's high grab range.
- Kick Off: Kicks his foe forward with good power. Often throws the foe far enough to set up a quick boomerang or bomb-based edgeguard, or simply one of Link's aerials.
- Reverse Kick Off: Takes the foe and kicks them directly behind him. Somewhat better KO power than his forward throw.
Specials
- Boomerang: Throws a blue boomerang, which returns after a set distance. One of Link's two projectiles. Doing a "smash throw" (smash the Control Stick forward while pressing B; similar to performing a smash attack) increases the distance the boomerang can travel. The Control Stick can be tilted up or down to aim the boomerang's trajectory. Can edgeguard, and can be used during combos if Link is a distance away from the opponent, as the hitstun caused by it allows Link to continue his combo.
- Spin Attack: Performs his signature Spin Attack. A powerful attack, especially on the ground; when grounded, the spin creates a wide, orange magic circle that grants the move more range. However, it is generally terrible for recovery, as it covers a very short distance; this gives Link a predictable recovery, and is often cited as the main reason why he is in bottom tier, as he is very easily edgeguarded by most characters, especially Pikachu and Kirby.
- Bomb: Pulls out a bomb, which functions as an item that explodes on contact with an opponent or after its fuse runs out. Link's second projectile. There are many techniques that can be performed with bombs, which can be read about here. Though difficult to time, the hitstun caused by the bomb allows Link to force himself out of helplessness to attempt recovering again.
Basic Attacks
Grabs
- Hookshot: Uses his Hookshot to grab at foes from afar. It's the second longest grab in the game, behind Samus.
- Pummel: Hits opponent with the hilt of his sword.
- Forward throw: Kicks foe a short distance in front of him. Low knockback.
- Back throw: Throws the opponent behind him and kicks them away.
- Up throw: Raises the opponent above him and slashes upward. Has below-average knockback, allowing it to potentially combo into an up-tilt, up-smash, down-smash, or several different aerials.
- Down throw: Takes the opponent onto the ground and elbow drops them. Leaves foes wide open for a combo, such as his Spin Attack or u-tilt. Generally Link's best kill confirm at high percents where it can easily combo into Spin Attack.
Special
- Bow: Link takes out his bow and shoots an arrow. Although a bit laggy and travels fairly slowly, Link can increase the speed and damage of the arrow by holding down the B button. Sticks in shields and the ground. Has its own hurtbox that can be hit by other attacks. Can shoot through opponents or hit twice if stale and used at point blank range.
- Boomerang: Link throws a Boomerang. Deals fair knockback, Link's Boomerang's distance can be extended or have its trajectory altered with the control stick. Only one Boomerang can be on the field at a time unless it is reflected. It is a relatively strong combo starter.
- Spin Attack: Does a spinning attack swinging his sword around him, with different properties depending on if it's used on the ground or in the air. In the air, the initial hits have low knockback, but the last one has a much stronger knockback than the rest. Although an unspectacular recovery, the grounded variant can be dangerous as an offensive move, especially an edgeguarder. It deals high knockback and can send opponents in a lower diagonal trajectory, a semi-spike (not in PAL versions of the game). It is easily combo'd into using Link's down throw versus many different characters and is one of his best kill moves. Link can grab an edge backward with his Spin Attack, unlike most recovery moves, but only during the move. This attack has transcendent priority.
- Bomb: Link takes out a bomb. Then, he can throw it like any other item. The bomb eventually explodes on its own, even being able to damage Link himself. Oddly, anyone who comes in contact with the bomb will have an explosive effect on their bodies, despite the bomb not detonating. The explosion can grant Link an extra Spin Attack if used skillfully, along with several of his other kill moves link forward-air, forward-smash, or his otherwise risky down-air.
Basic Attacks
Grabs
- Clawshot: Uses his Clawshot to grab at foes from afar.
- Pummel: Hits opponent with the hilt of his sword.
- Forward throw: Kicks foe a short distance in front of him. Low knockback.
- Back throw: Throws the opponent behind him and kicks them away.
- Up throw: Raises the opponent above him and slashes upward. Has below-average knockback, allowing it to potentially combo into an up-tilt, up-smash, down-smash, or several different aerials.
- Down throw: Takes the opponent onto the ground and elbow drops them. Leaves foes wide open for a combo, such as his Spin Attack or u-tilt. Generally Link's best kill confirm at high percents where it can easily combo into Spin Attack.
Special
- Bow: Link takes out his bow and shoots an arrow. Although a bit laggy and travels fairly slowly, Link can increase the speed and damage of the arrow by holding down the B button. Sticks in shields and the ground. Has its own hurtbox that can be hit by other attacks. Can shoot through opponents or hit twice if stale and used at point blank range.
- Gale Boomerang: Throws the Gale Boomerang, which damages at it flies away and then pulls enemies towards Link as it returns. Can be angled up or down. A "smash throw" (similar to performing a smash attack) increases the distance the boomerang can travel.
- Spin Attack: This move functions differently when grounded and airborne; an aerial Spin Attack is used as recovery which grants Link vertical distance. A grounded Spin Attack is akin to most Zelda games, and functions similarly to a smash attack with great knockback.
- Bomb: Link takes out a bomb. Then, he can throw it like any other item. The bomb eventually explodes on its own, even being able to damage Link himself. Oddly, anyone who comes in contact with the bomb will have an explosive effect on their bodies, despite the bomb not detonating. The explosion can grant Link an extra Spin Attack if used skillfully, along with several of his other kill moves link forward-air, forward-smash, or his otherwise risky down-air.
Final Smash
- Triforce Slash: Link locks onto an opponent and proceeds to slash them repeatedly with his Master Sword. A luminous image of the Triforce appears around the opponent as Link slashes them. The final strike launches the opponent.
Note: The attack that Tabuu used to one-shot the entire Smash cast is far above his regular attacks and this is further proven in-game as when he uses this same attack it one-shots whoever is on-screen thus arguing that they should not scale to Tabuu because he one-shotted them is not accurate as it's with a very specific attack.
Battle Records
Due to Hat Kid also having a 2-B key this match can stay. Notable Victories:
Notable Losses:
Hat Kid (A Hat in Time) - Hat Kid's profile (Speed was equalized and both were at Low 2-C)
Inconclusive Matches:
Discussions (Link For Mobile Users):
| Discussion threads involving Link (Smash Bros.) |
